
A Campaign in Conquer Voice can be built from either a Report or a Marketing List. Conquer Voice Campaigns can involve any entity in Dynamics. In this example, we will use Leads, but the same best practices will apply to all entities in Dynamics.
Creating the Marketing List
Be sure to give your Marketing List a unique name - this will be important during Campaign creation (next step). Technically, Dynamics will allow multiple Marketing List to be saved with the same Marketing List Name, provided the Marketing List Unique Names are different, but this is definitely not the best practice.
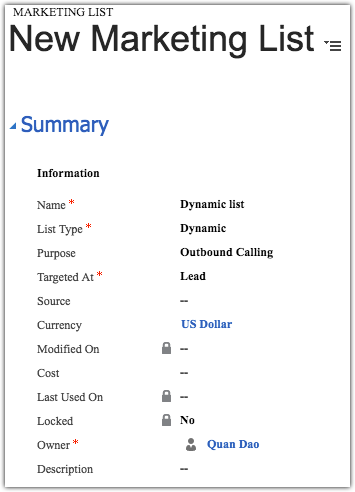
The Marketing List provides the base data upon which a Conquer Voice Campaign is built. While this is quite simple, the power of this should not be overlooked: anything that is on a Marketing List in Dynamics can be turned into a Conquer Voice campaign.
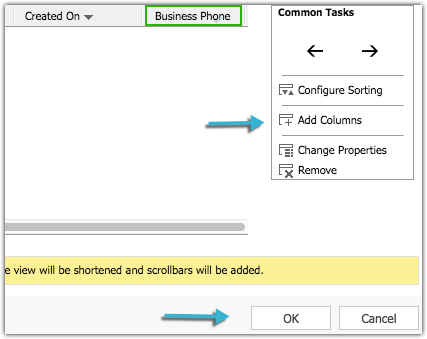
Navigate to the Edit Columns and click the Add Columns button. Add the appropriate columns that you want to be displayed in the Marketing List. Click on the OK button when you are done.
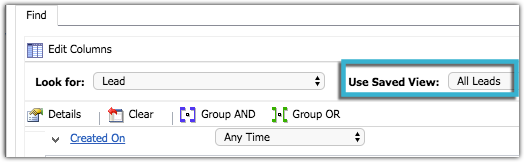
Under the “Use Saved View” drop-down menu, select “All Leads.” When a Conquer Voice Campaign refreshes, the Marketing List is run again in Dynamics. The credentials used to run the Marketing List are the Configuration Account’s credentials. That means if a Marketing List is built with “My Leads,” it will look fine to the person who created the Marketing List, but when the Campaign updates, the Marketing List will attempt to pull in records owned by the Configuration Account:
Note: OAuth is now supported in Dynamics. This requires an Application user to be configured prior to being turned on. Please note, the Configuration User will show as “Invalid,” this is okay so long as they are on the new system.
To begin implementing this change, contact your Customer Success Manager.
If you want to build a Campaign that only serves users the records that they own, you’ll use the “Record Owner Distribute” feature, which will be covered below. Apply filters to your Marketing List to ensure that only the desired records appear in the report.
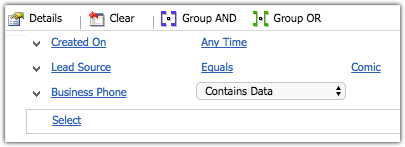
Once you’ve applied your desired filters, run the Marketing List to be sure it contains the correct records. Then click on the Use Query button.
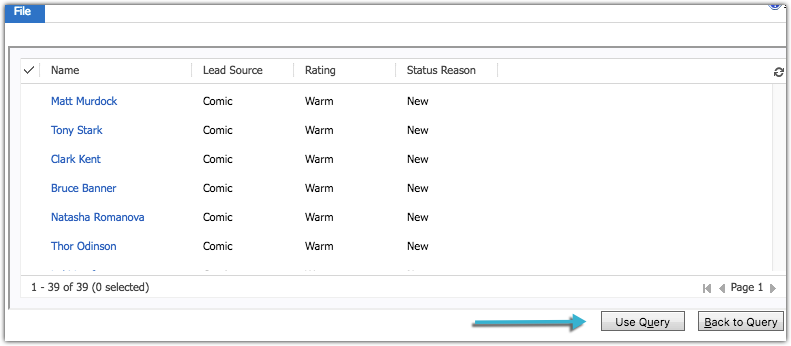
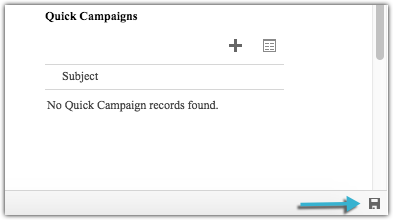
Afterward, click the Save button on the bottom right of the Dynamics page to save the Marketing List.
Note: Conquer Voice starts dialing at the top of the report, so if the sort order of the campaign is important, be sure that the highest priority records are at the top of the Marketing List.
Creating the Campaign
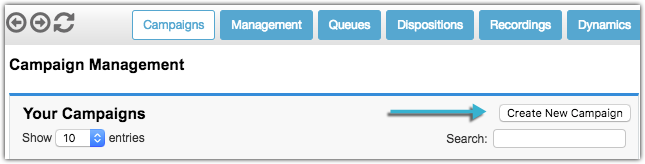
Now that you’ve got your Marketing List, it’s time to turn it into a Campaign. To do this, navigate to the Dynamics Campaigns tab and click the Create New Campaign button:
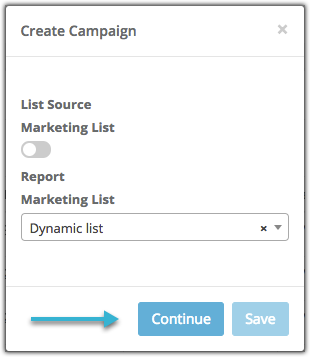
Clicking this button will bring up the “Create A Campaign” window. Toggle the "List Source" switch to "Marketing List," select your Marketing List from the drop-down menu, then click the Continue button. Note: to build a Campaign from a report instead, simply toggle the switch to Report, select the desired report, and follow the same set of Campaign creation steps.
This will bring up the main Campaign Creation menu. You’ll have the option to map columns in your Marketing List to Campaign fields.

If no Backup Phone or Second Backup Phone fields are included in the Marketing List, just map the same field used for the Phone field.
For the Name field, keep the full content short - it’ll need to fit inside the Conquer Voice UI when the record is presented to an agent.
Below the field mapping section is a section with multiple Campaign options, covered in the next section.
Agent Access
The "Agents" section allows you to immediately grant Campaign access to your desired set of Agents on Campaign creation. Select the names of all agents who need access from the drop-down menu.
Record Owner Distribution
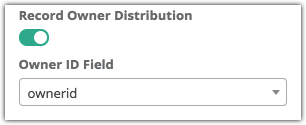
Record Owner Distribution allows multiple agents to connect to the same Campaign and have each agent only be presented with records that they own. All records in the Report or Marketing List will appear as active in the Campaign, but only records owned by each user will be available to dial when they connect. To use this feature, the Owner ID field must be included in the Report or Marketing List and must be mapped on Campaign creation:
Preserve Report Order
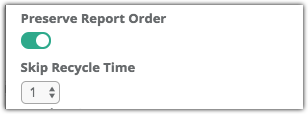
Preserve Report Order sets a Campaign to reset to the top of the Marketing List every time the Campaign refreshes. Records that have been previously dispositioned will be skipped until the DNC time associated with the previous disposition has expired. Enabling Preserve Report Order will make the field “Skip Recycle Time” appear. Skip Recycle Time applies DNC time to skipped records to ensure they don’t come back immediately. Skip Recycle Time can range from 1 hour to 24 hours.
Preview Auto
Preview Auto sets a Campaign to automatically dial each record that’s presented by the Campaign. If Preview Auto is enabled, you’ll need to select a Prep Time from the dropdown menu. The Prep Time will display as a timer to the agent. When the counter reaches zero, the record will be automatically dialed.
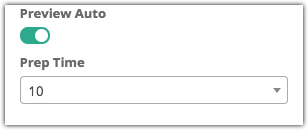
Due to browser loading times, we recommend selecting at least 5 seconds for the Prep Time.
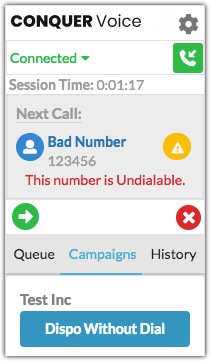
Include Undialable Numbers
This feature allows Campaigns to present records with invalid numbers. When an agent clicks the Dial button, they will be presented with a message stating that the phone number is not valid.

Once everything has been mapped, click Save button to save the Campaign. Afterward, refresh your browser page and the new Campaign will appear. Note: for very large Reports or Marketing Lists, this may take a few minutes as Dynamics has to run the full Report or Marketing List for the Campaign to be created.

Campaign Settings
To manage a Campaign’s settings, click the Campaign name.
Campaign Name
To change a Campaign’s name, edit the name in the text box and click Submit:

Campaign Details
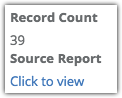
Campaign Details displays the number of records in the Campaign and a link to the Marketing List for ease of location:
Preserve Report Order
Preserve Report Order sets a Campaign to ignore whether a record has been previously dialed and only looks at the sort order of the Marketing List. When the Campaign refreshes, it will go back to the beginning of the Marketing List:
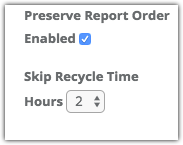
If PRO is selected, you’ll need to assign a Skip Recycle Time. This applies DNC time to skipped records within the PRO campaign to keep them from coming back immediately. Skip Recycle Time can range from 1 hour to 24 hours.
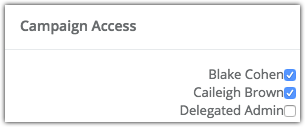
Campaign Access
Grant campaign access to any user by checking the box next to their name.
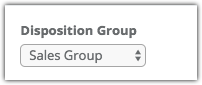
Disposition Groups
If desired, assign a Disposition Group to the Campaign. If no Disposition Group is assigned, all Dispositions will be available on the Campaign:
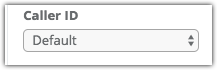
Caller ID
You can assign a Caller ID to a Campaign in the Caller ID section. If “Default” is selected, the Caller ID presented to the prospect will be the agent’s caller ID as set in DS Management. If the agent has no Caller ID set in DS Management, the account default Caller ID will be presented instead:
Refresh Interval
If a Campaign needs to refresh more often than other Campaigns in your org, you can set each Campaign to have its own refresh interval:

Campaigns by default will use “Default” as their refresh interval, which is set in DS Management as outlined above.
Include Undialable Numbers
If a Campaign includes undialable numbers, the records will be presented by the Campaign normally but the record will display a message if the agent attempts to dial.

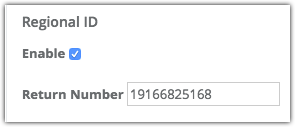
Regional ID
If Regional ID is enabled for a Campaign, enter the Return Number without any punctuation or formatting in the box and press Enter to save:
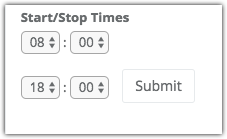
Start/Stop Times
Campaigns use start and stop times by looking at the local time associated with each prospect’s area code and only making records available if their local time is currently within the Campaign start and stop times. This allows reps to call prospects all over the country without having to worry about calling too early or too late. The start/stop default value is 8am-6pm. To adjust the times, select the new start and stop times from the dropdown menus and click Submit:
Filter Campaign View by User Access
This feature must be enabled on the Conquer back end, so contact your Customer Success Manager to enable it.
This allows users to filter the Campaigns so that they can only see Campaigns they have access to. Before enabling this feature, create an Agent Group to be your Admin group and add every user to the group who will need to be able to access all Campaigns. See the Agent Groups section above (located in the Management section) for how to create an Agent Group.

A new “Admin” button will appear in the Agent Groups section. Click the button to select your Admin group. Make sure all users who need to be in the Group are in the Group.
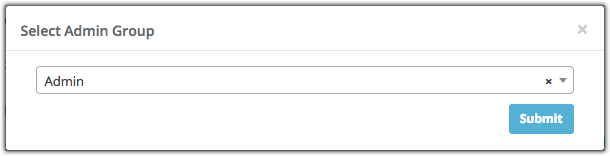
Click Submit to assign the Agent Group to the Admin function. Once submitted, members of the Admin group will see a button appear in the Campaigns tab that allows them to toggle between viewing all Campaigns and viewing their Campaigns.

Users who are not members of the Admin group will only see Campaigns they have access to. The button won’t be visible.
Comments
0 comments
Please sign in to leave a comment.